Short guide how to install Django
Very quick guide of basic Django installation. We are going to use pip command, virtualenv and python3 in this guide. In this guide I assume that you know Python programming language.
We will be discussing how to install Django within a virtual environment. To do this, you will need to have Python3, Pip3, and VirtualEnv installed on your system. Before proceeding, I recommend verifying that all of these commands are available on your operating system. To install VirtualEnv, simply use the Pip3 command.
pip3 install virtualenv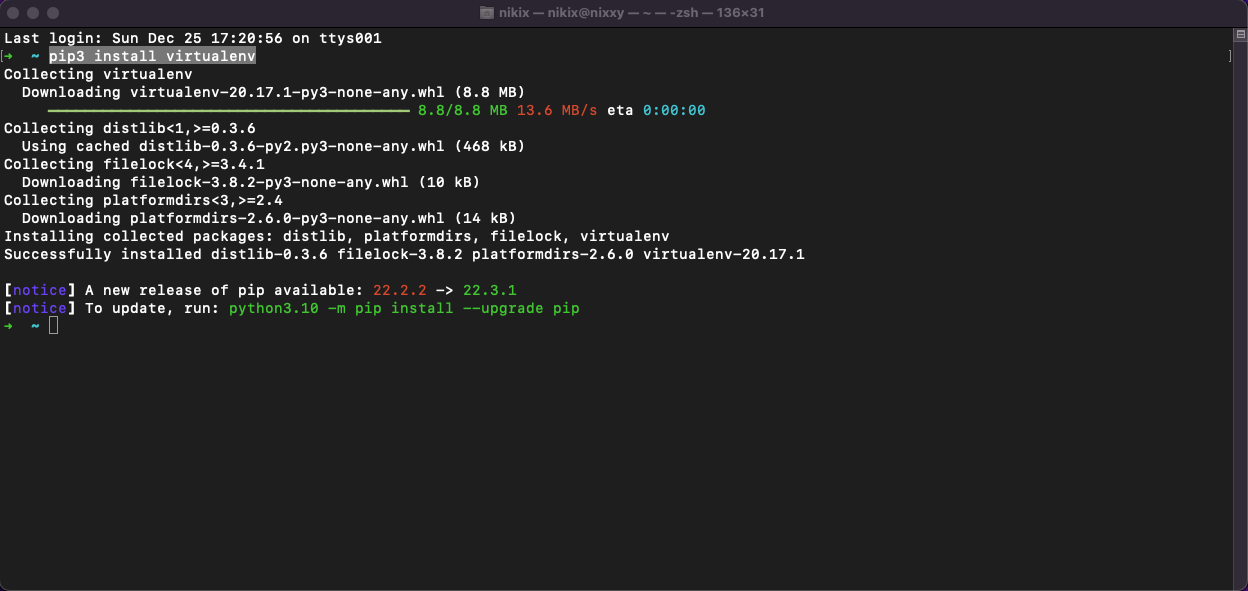
Create project directory
Le's create a working directory with any name you like by using the mkdir command, which is standard on unix-like systems. For this example, I will name the directory "django_install".
mkdir django_installSwitch into created directory using "cd" command.
cd django_installCreation of python3 virtual environment using virtualenv
In the directory we just created, we can create a Python3 virtual environment by using the "virtualenv" command. This will allow us to have a separate environment for our project that is isolated from the system's global Python environment.
virtualenv -p python3 .Running above command will create two folders in the directory, "bin" and "lib". We can check our current folder structure by "ls" command. The 'ls' command is used to list files and directories on every unix-like system.
ls -la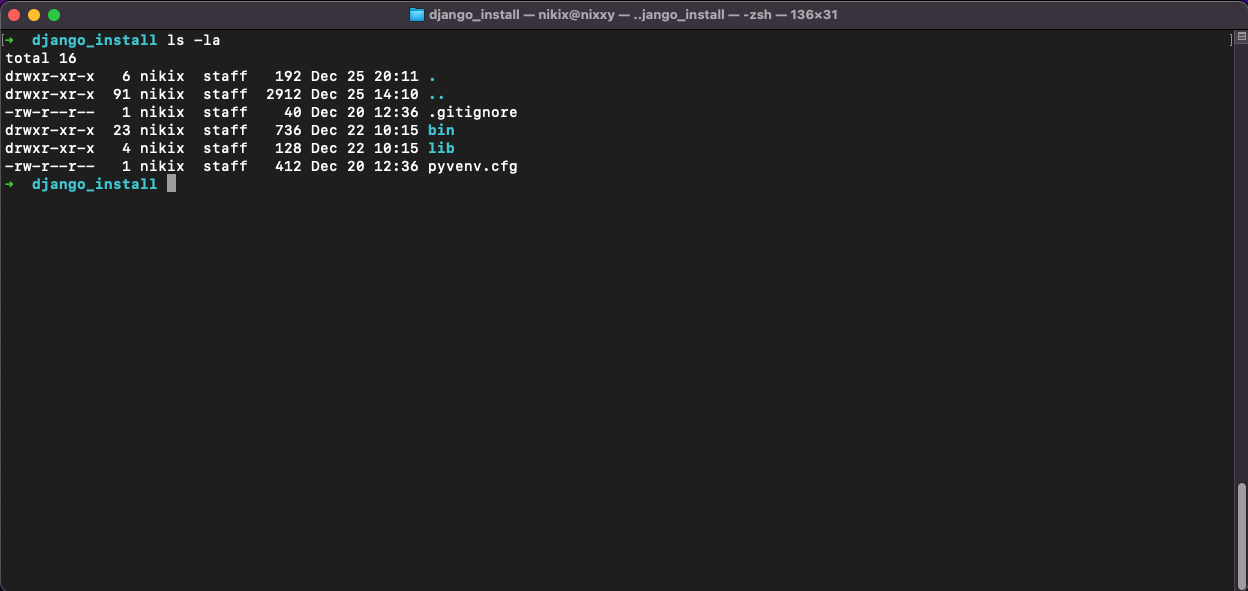
Activation of virtual environment
When we created virtual environment we need to activate it. We are going to use following command:
source bin/activateWe can recognize that we are in an active virtual environment when our Bash prompt starts with the name of the parent folder, in this case (django_install).
We need to install Django using pip command now
When working in an active virtual environment, we can utilize the "pip" and "python" commands without having to specify a version (e.g. "pip3" or "python3.9"). We are going to use pip command for installing django package.
pip install django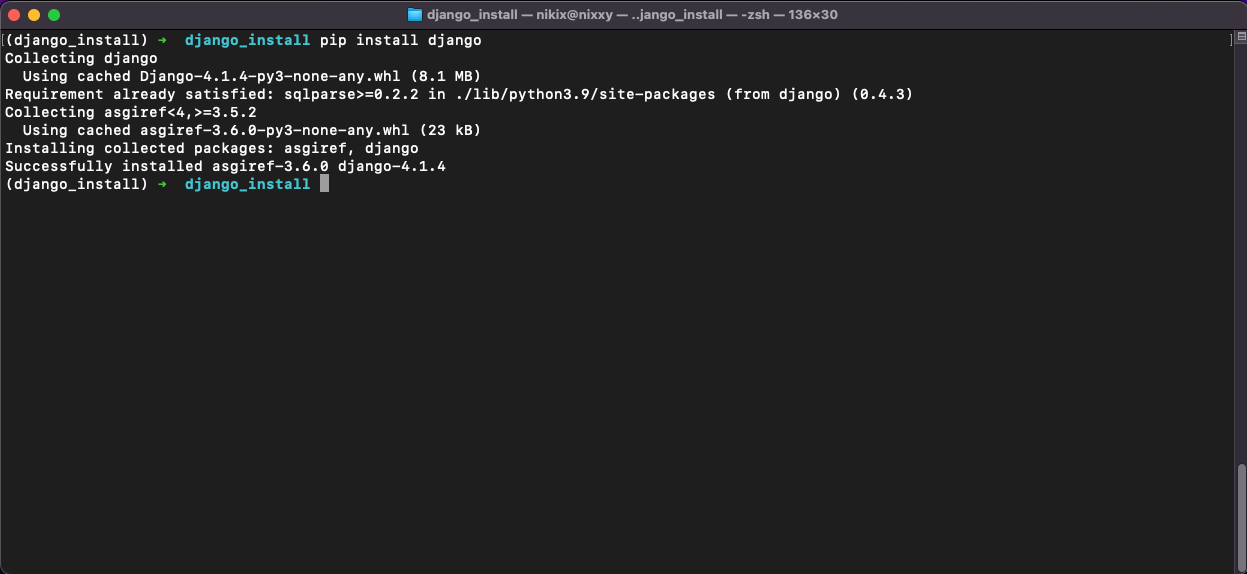
Start new django project using django-admin command
We will use the django-admin command to create a new Django project. We can call it "testdjango" but feel free to name it as you want.
django-admin startproject testdjango
Creation of new Django app
A well-designed Django project should have multiple apps that each solve only one problem. This helps keep your project manageable and organized. For example, a blog website might have one app for managing blog posts, another for managing user accounts, and a third for managing comments. So we are going to start our first app. We need to go into newly created folder "testdjango":
cd testdjangoWhen we are in folder we can utilize the manage.py file to carry out various administrative operations related to Django. We will create new app called "polls":
python manage.py startapp pollsMigrate Database and create superuser account
We need to create our first database migration in order to set up the necessary tables for Django's functioning, such as user accounts, sessions, passwords, etc.
We are going to use manage.py again, makemigrations usually check for changes in DB models and prepare necessary migration files, migrate command execute migration.
python manage.py makemigrations
python manage.py migrate
Once we have successfully migrated our database, it is time to create a super user account. This account will have all privileges in the system. You will be asked a few questions, such as your email address, nickname, and password.
python manage.py createsuperuser
Now we need to start local development server
The last step is to fire up a local development server, which is not intended for production use cases but is very handy during the development process. The server can automatically restart itself in case any changes are detected in your files.
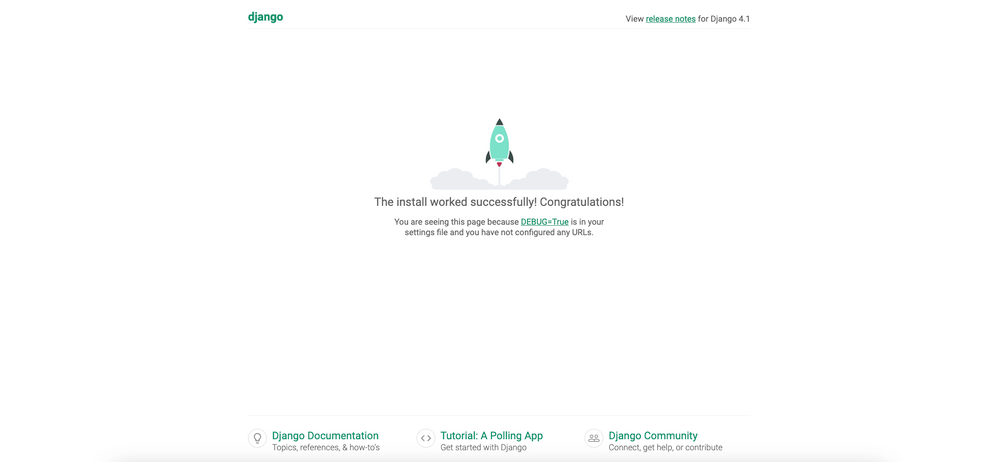
python manage.py runserverNow open your browser and visit http://127.0.0.1:8000 address and you should see Django welcome page.